

Building Out the Mulch Pathway
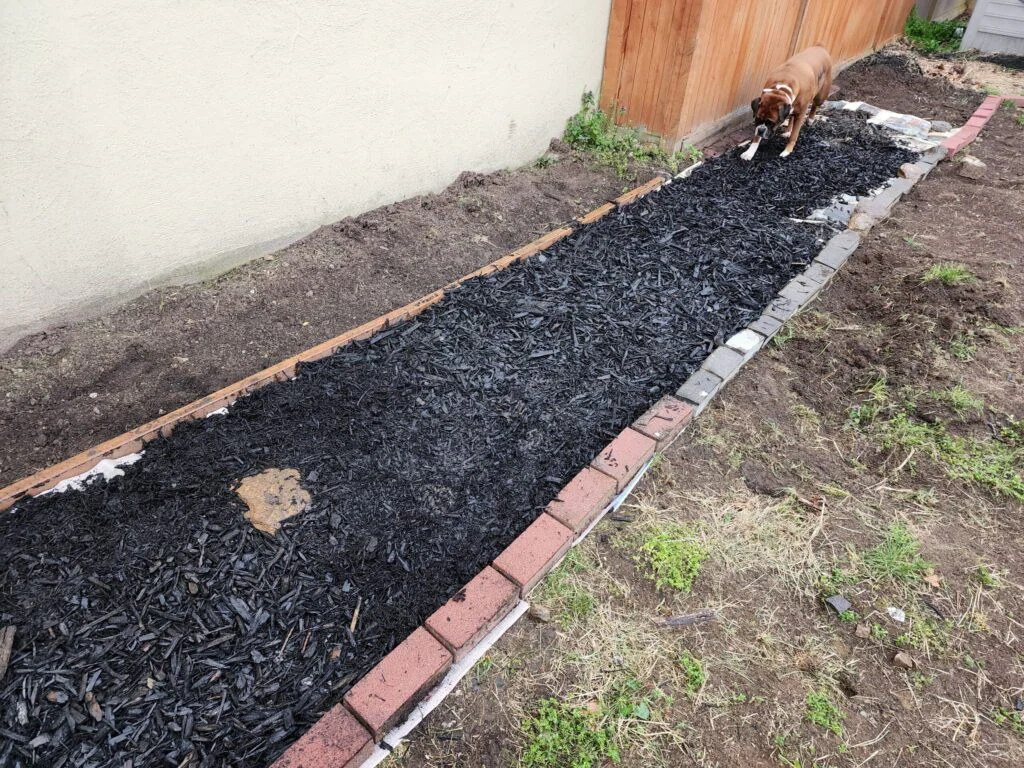
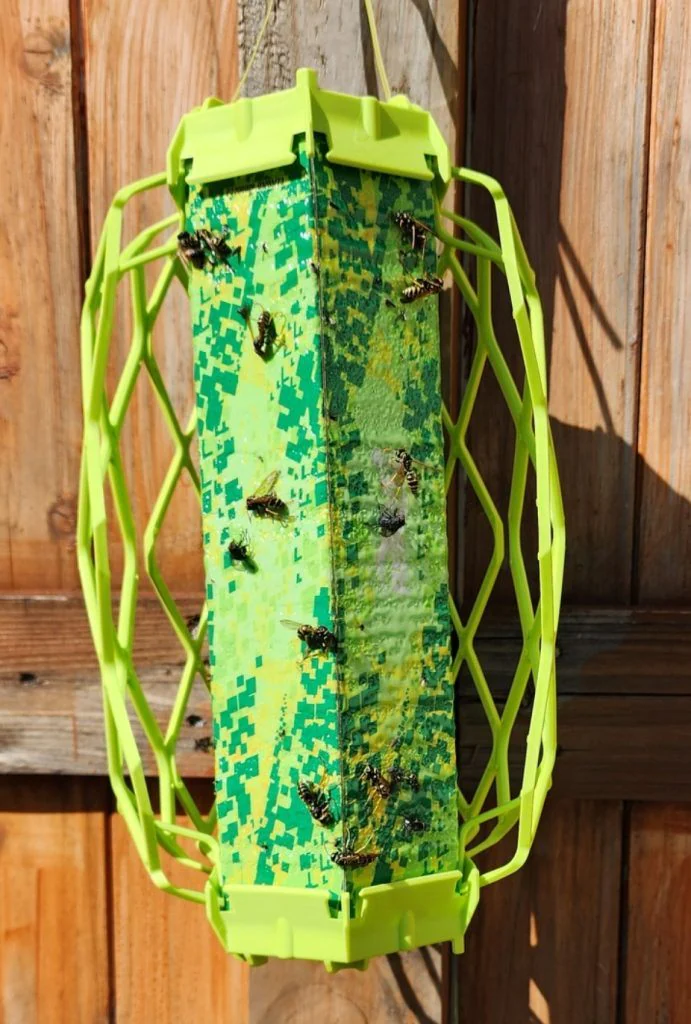
I’m building a wood-chip path around the whole back border of my garden. Part of it is that I like how it looks — but the real reason is wasps. They congregate along that fence, and I don’t want to spend time weeding there. A mulched path means the fence line stays accessible with almost no maintenance.
I started this earlier in the year, then waited more than a month to decide whether I liked it before committing to the rest.
I left a narrow bed along the very back for tall plants — climbing roses, sunflowers, maybe dwarf fruit trees later.
Leveling the ground — and knowing when to stop
I’m obsessive about the relative levels of different areas in a garden. The back border was almost a berm — a mulched hill I’d planted pelargoniums into last year by digging down through the mulch. I didn’t want to do that again, so first I raked all the mulch off and started lowering the mound with a spade.
That mulched bed, by the way, had barely any weeds — I’d put newspaper down before the mulch last year, and it worked. One or two weeds all season, always where the paper had a gap or had decomposed.
Shoveling the mound down was backbreaking, and I had no interest in doing it around the entire border. So I gave myself a personal-development lesson and went with “good enough”: make it as flat and level as I reasonably can, and stop there. Digging the whole grade down would have taken days I don’t have this season.
Looking at gardens I admire, a path next to a planting bed is usually on the same level as the bed, separated only by a border — unlike a lawn, which usually sits higher than the path beside it. Since my chip path runs next to a planting bed, keeping everything level with a distinct border is fine.
To speed up the leveling I brought in the tiller — basically a mechanical shovel. A few inches deep was enough to cut roots and loosen the soil so I could rake it level.
Borders: plastic, then wood, then brick
I first set plastic edging. The hard part is getting it straight — a spike in every hole, pulled tight as you go, not one spike every couple of feet like the instructions say. This is the back of the garden, so I didn’t mind it being a little wobbly. I installed it, then re-installed it after a lapse of judgement about placement.
The problem: it’s only about 1½ to 2 inches tall. A proper depth of wood chips would just spill over it. So I pulled it out (I’d rather save that edging for where the lawn meets concrete) and used wood instead — three sealed 2x4s I was already planning to pull from another part of the garden. A year in the ground, sealed, and not degraded at all. I dug a shallow trench, laid the three boards, and the combined 24 feet came out exactly right.
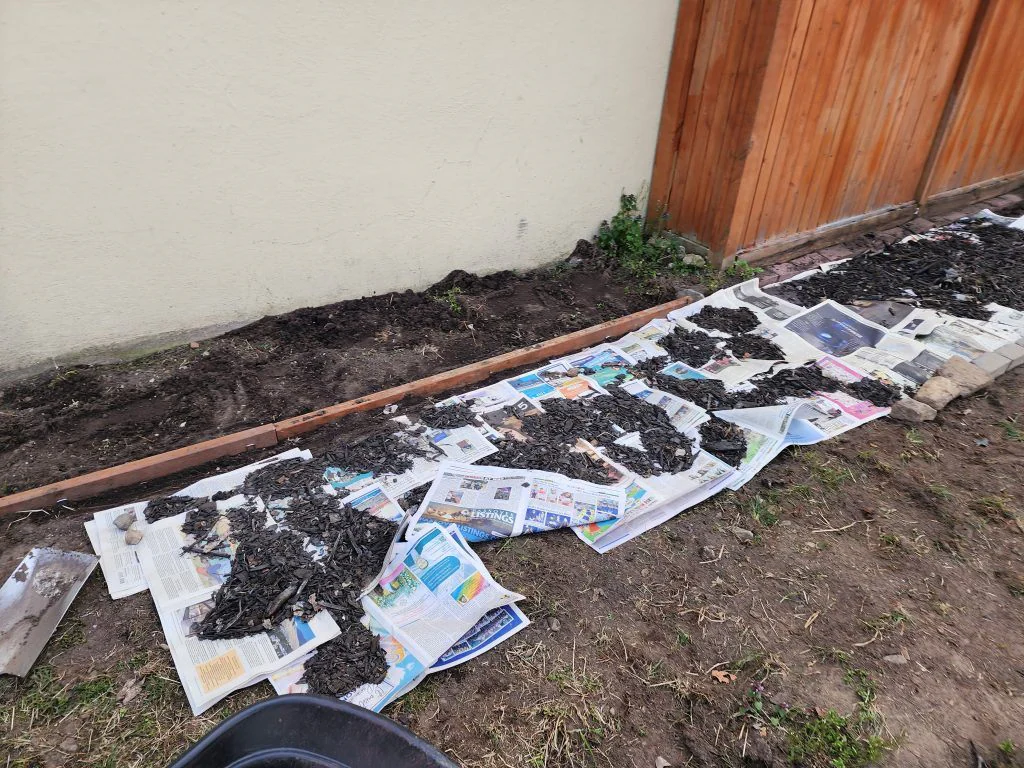
I hold them with garden staples — one against each side of the board rather than over the top, since a 2x4 is too wide to staple across. Three pairs per board. Over time the soil settles them solid; the boards I pulled from elsewhere took real effort to get out.
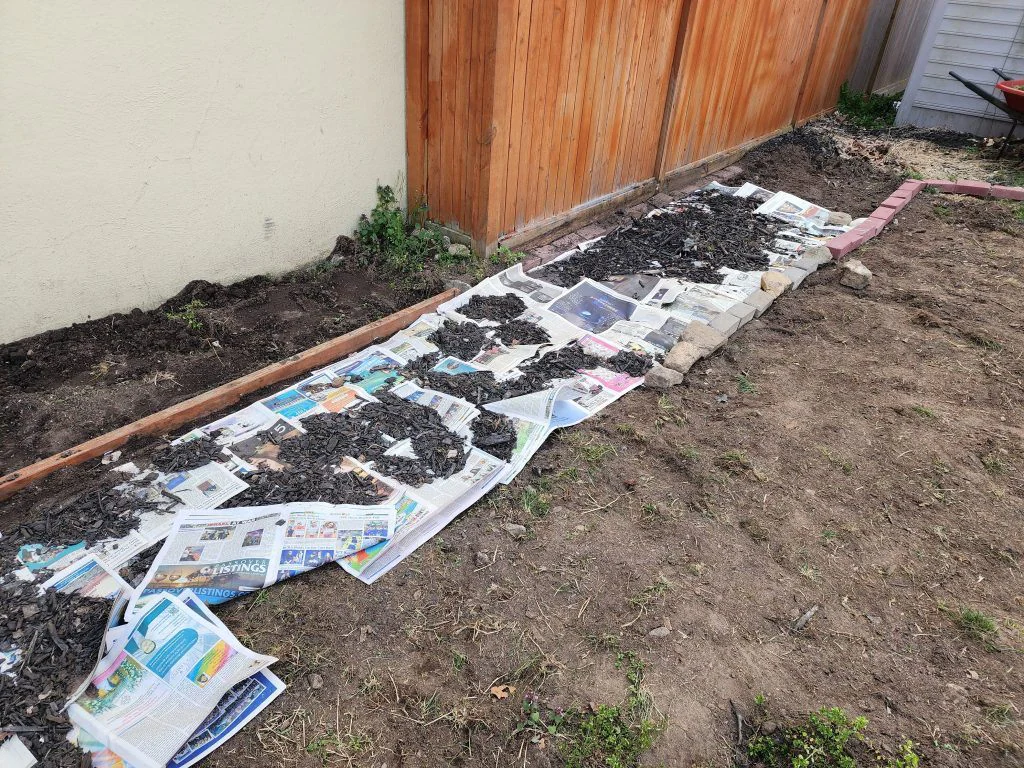
For the other side of the path I used brick. I tried some large stones too, to use up a pile I have, but I don’t love them — weeds around irregular stones are much harder to control than along a square brick edge that matches my hoe and spade. I’ll likely swap the stones for more brick.
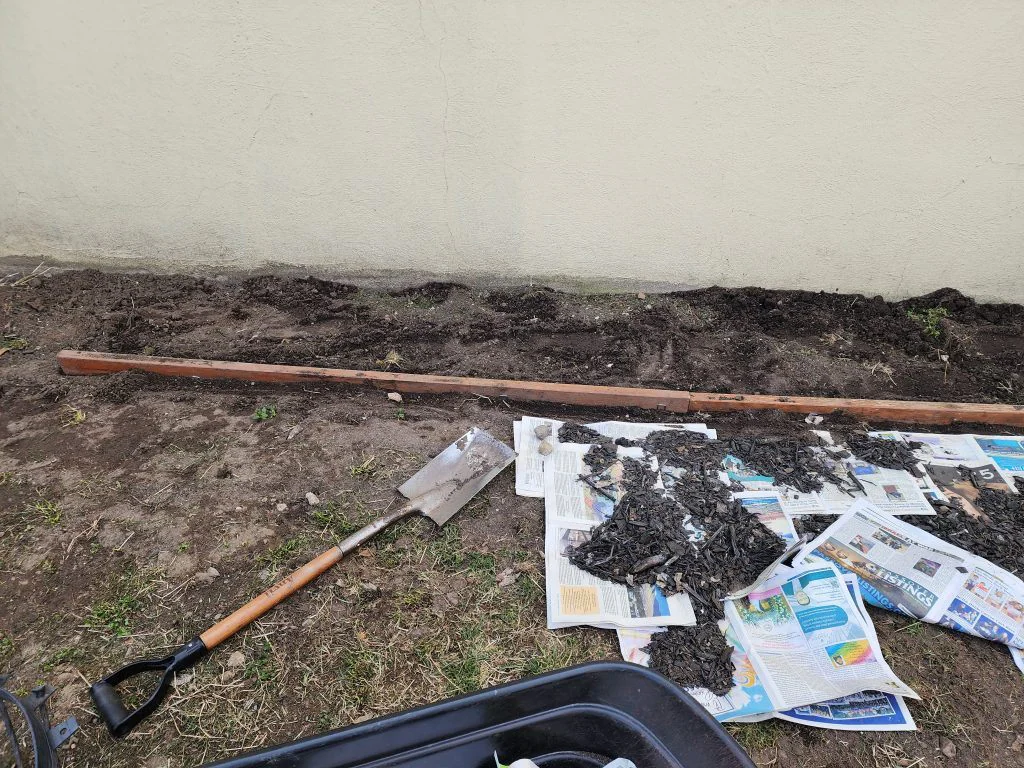
Laying the path
With both edges set, I put down newspaper — a few feet at a time, then handfuls of wood chips to hold it against the wind. Then I could drop the bags straight into the path, pour piles onto the newspaper, and spread. I combined black and brown wood chips — that’s what I had, so that’s what I used.
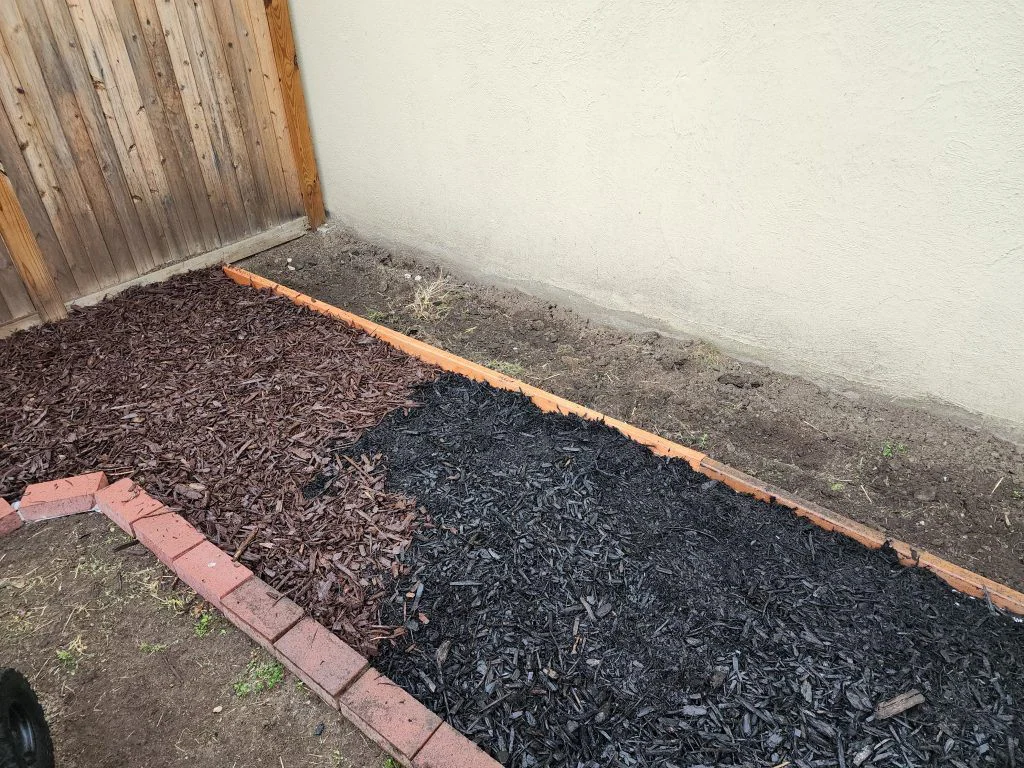
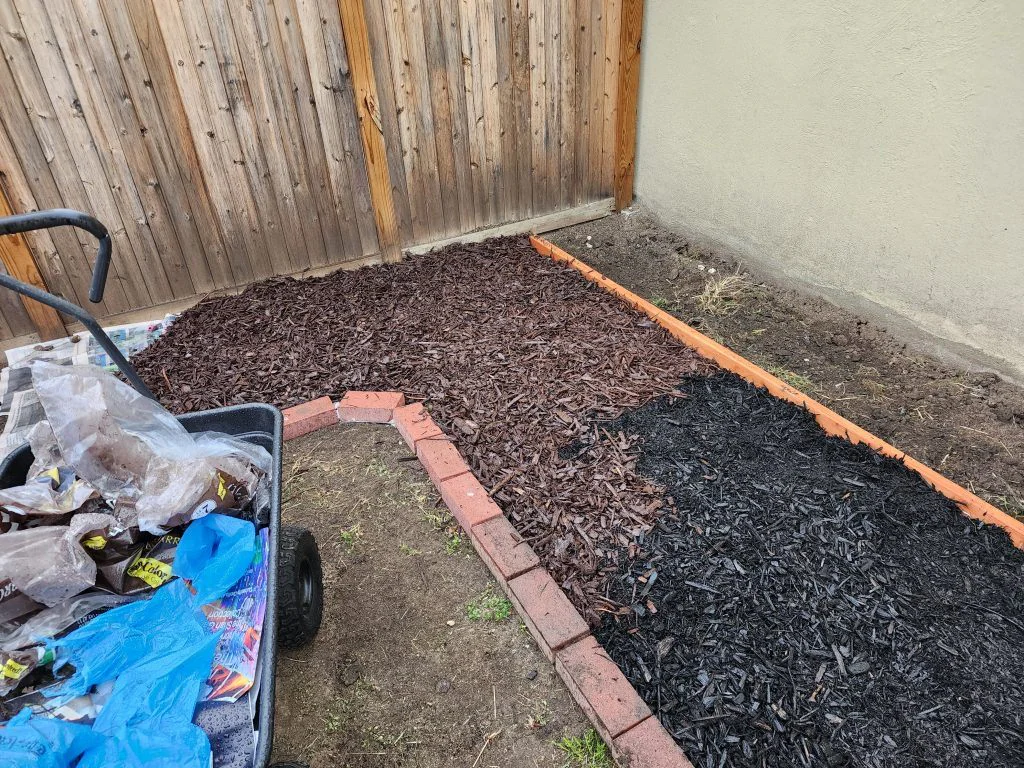
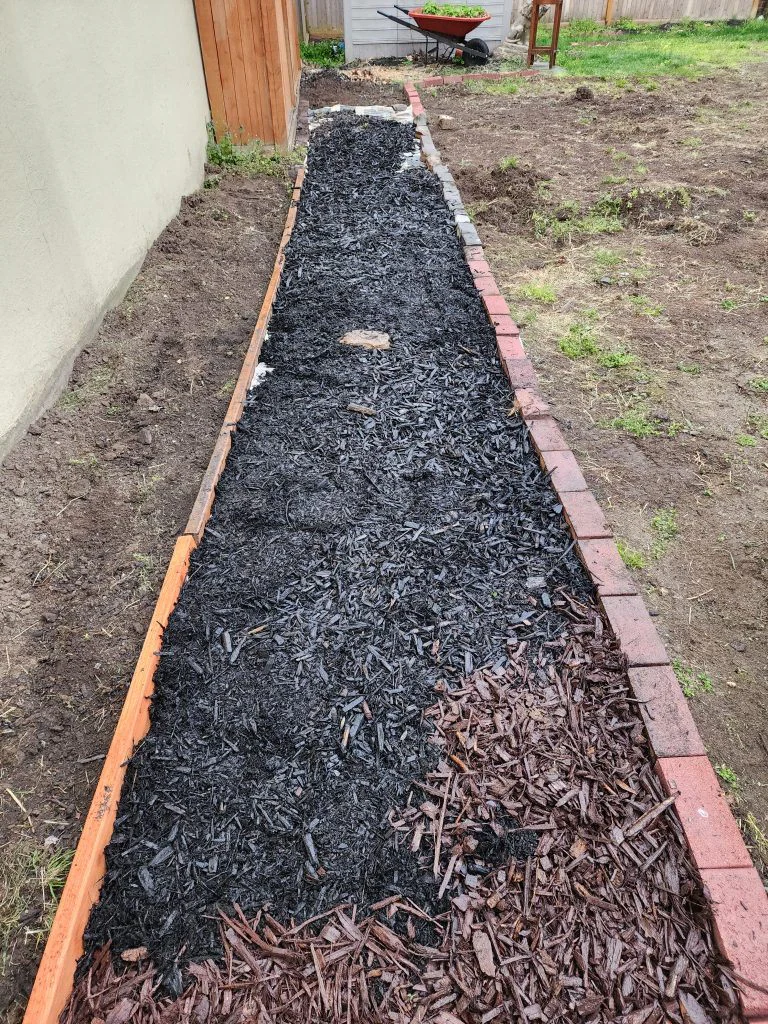
I did most of the back path except the stretch nearest the shed — there’s still a mulch hill and some weeds to deal with there.
Where it stands
That area has always had a lot of crabgrass, goosegrass, and thistle, but with this much paper and wood chips down I think it’s handled — no more weeding back there. The fence stays accessible for the wasp traps, the back bed for my tallest flowers is still reachable, and it looks good. I’ll keep working the path around the rest of the border.
If you’d like to follow the path (and the rest of the garden) as it comes together, get on my email list.
Common questions
- Does newspaper under wood chips actually stop weeds?
- In my back bed it worked well. With newspaper laid down first and mulch on top, only one or two weeds came through all year, and always where the paper had a gap or had fully decomposed. Bare mulch alone lets far more through.
- How tall does path edging need to be to hold mulch?
- Taller than the 1.5–2 inch plastic edging I started with. A thin edge lets a proper depth of wood chips spill straight over it. Sealed 2x4s set into a shallow trench hold a deeper layer and settle solid over time.
- Are bricks or stones better for edging a path?
- Bricks, if you plan to run tools along the edge. A square brick edge matches the square edge of a hoe or spade, so weeding along it is easy. Irregular stones make weeds around them much harder to control.